
My 8-year-old has been into model rocketry for the past few years. Like a lot of good hobbies at that age, it has the right mix of building, anticipation, mild danger, and a satisfying countdown.
The only problem is that we live in Cleveland, and Cleveland winter is not exactly the most launch-friendly operating environment. Model rockets and lake-effect snow do not have a natural partnership. So for a good part of the winter, we talk about launches, plan launches, look at parts, imagine future launches, and wait.
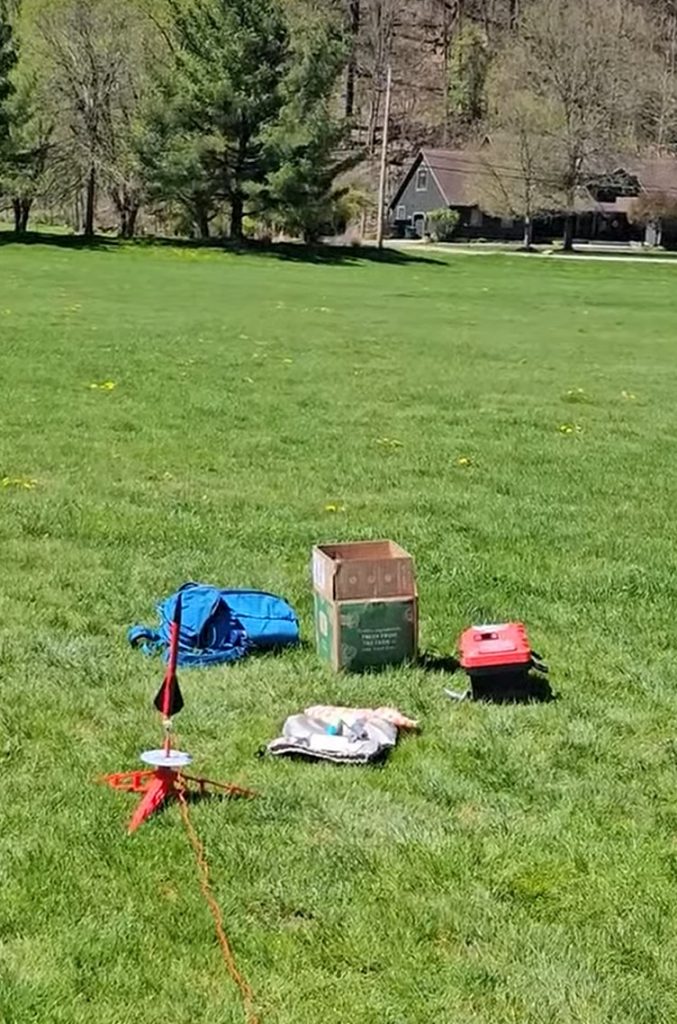
Somewhere in that waiting period, the project shifted from “let’s launch rockets” to “what if we could measure what the rocket is actually doing?”
Building The Altimeter
We have also been playing with IoT and small DIY electronics projects, so the obvious next step was to build a rocket altimeter. Because apparently the correct number of hobbies to combine into one weekend project is “all of them.”
We began with an ESP32 development board on a breadboard, a BME280 sensor board, a small OLED display for bench testing, and a lot of jumper wires. The BME280 gives pressure readings, and pressure can be converted into altitude. Over long periods of time, weather and climate obviously affect air pressure. But over the moment-to-moment time scale of a model rocket launch, we felt comfortable treating those changes as negligible compared with the pressure change from the rocket’s actual movement.
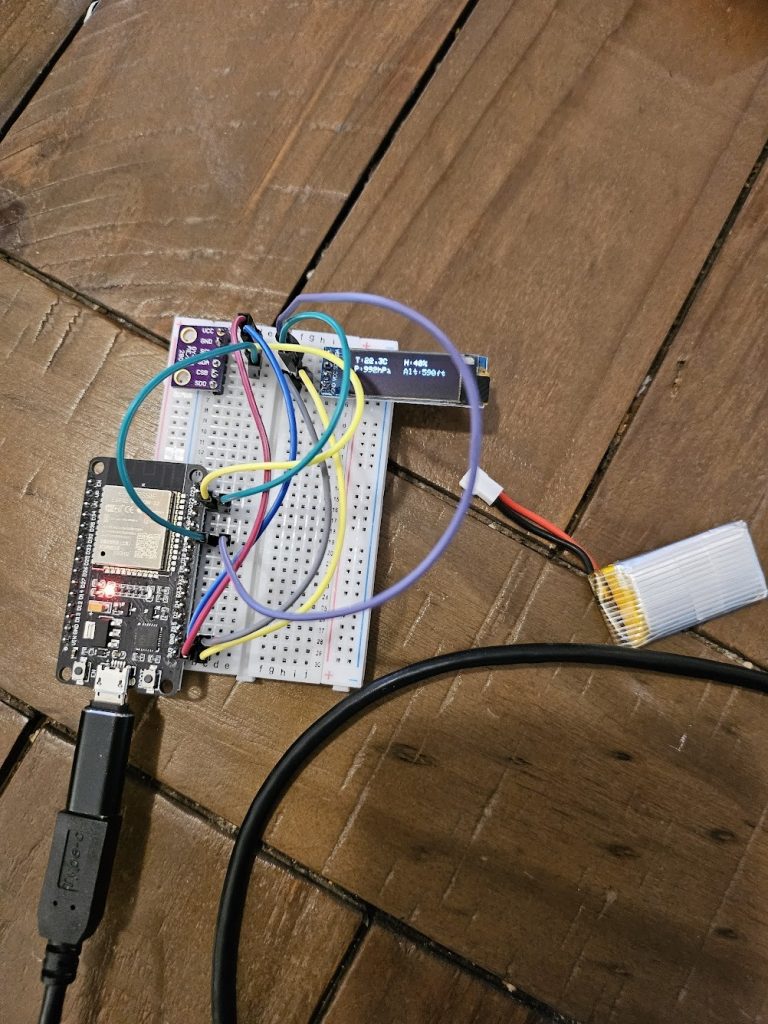
The firmware was built with OpenAI Codex helping inside the Arduino IDE workflow. The ESP32’s Wi-Fi capability let us build a small web-based interface: the device creates its own network, a phone connects to it, and then the phone can view altitude data through the browser.
That was the first satisfying moment. The loop worked: sensor, microcontroller, firmware, Wi-Fi, phone, graphable data. It is one thing to explain that pressure changes can estimate altitude. It is another thing for an 8-year-old to see the numbers change in front of him.
From Breadboard To Rocket
Of course, a breadboard with jumper wires is not going inside a model rocket unless the model rocket is approximately the size of a small appliance. So the next step was shrinking the system.
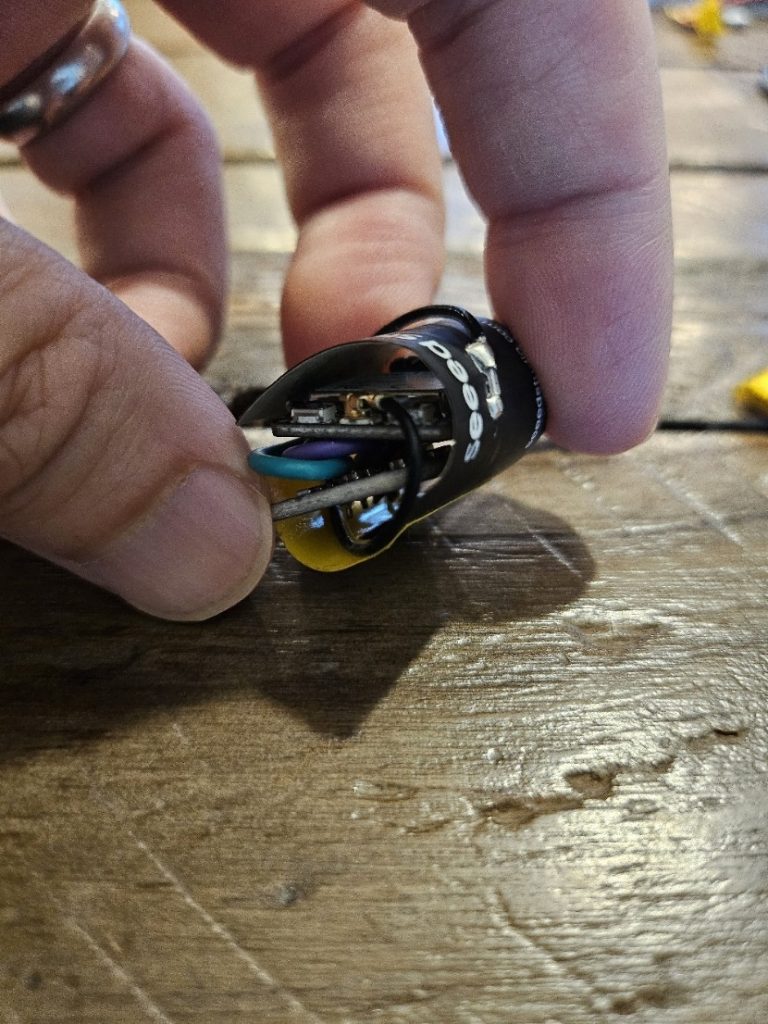
For the final build, we moved to smaller components and scrapped the OLED display: a Seeed Studio XIAO ESP32-C3 and a GY-91 module. The GY-91 includes more sensors than we needed, but for this version we used the barometer and ignored the gyro.
We (read: the grown-up) soldered the boards together with wires, added a 2-pin JST connector, and used a small lithium polymer battery as the power source.
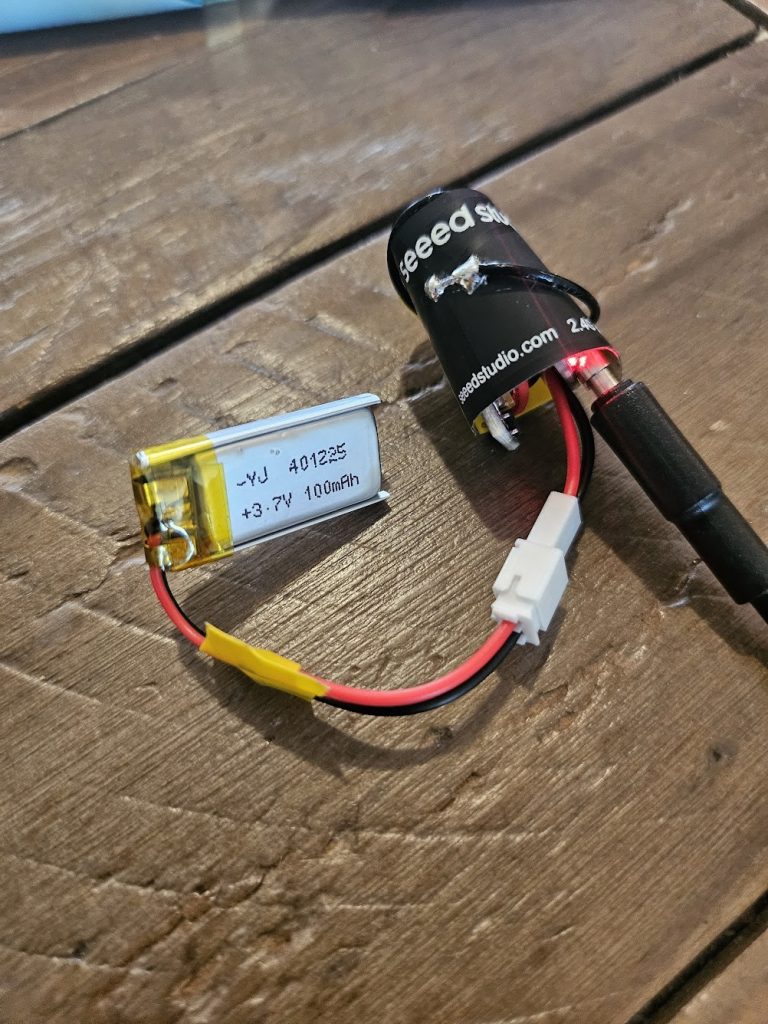
The result is not the most beautiful piece of electronics I have ever seen. There is solder, electric tape, wire, and the clear evidence of amateur human hands. But it weighs only about 7 grams and fits easily inside a BT-50 model rocket tube.
More importantly, it works.
We were able to collect altitude changes at 100 ms intervals and plot the ascent and descent of a rocket flight.
Why This Was Worth Doing
The best part of the project was not the altimeter.
The best part was watching my son care about the problem. He wanted to understand why the rocket went as high as it did. He wanted to know what we could measure. He wanted to build, test, revise, and try again. And he helped his younger brother build and paint the rocket.
It is science as a tool for answering a question you already care about. It is development as a way to make an idea real. It is tinkering with just enough failure to make success feel earned.
I didn’t even mind that the vibe coding took away the opportunity to tinker with C programming. We were able to iterate far faster and focus on the hardware build and getting everything to fit.
Between the shared language of fins, motors, pressure sensors, bad solder joints, launch weather, these small victories became bigger than their sum.